Friday 26 April 2013

Great plated lizard gives me a hard time

This week my project has been a great plated lizard - Gerrhosaurus major illustration, which I thought would go fairly smoothly... how wrong could I be!

Monday 22nd

The morning's check of emails revealed a request from the Herps (reptiles and amphibians) section for a change over of ID on the frog exhibit in Twilight World. Lemur leaf frogs were going to replace the species that had been on show, which I believe were splendid leaf frogs. We had this species on show before so I had the ID sign on file on the computer so it was just a case of printing and laminating the sign and getting to the section so that they could put it up when the frogs went in.

An enquiry last week with the mammal section revealed that the sign explaining why there were wires strung out over one of the animal paddocks, was missing. And despite another search of hard copies in my cabinet and documents on the computer system, the sign could not be found. So starting from scratch again I needed photo's of the wire. These wires are over the South American Paddock where we used to have the black-tailed prairie dogs; but they have gone to another collection and we will shortly have the smaller and daintier European version (the souslik) taking up residence here. The wires are to discourage birds, like pigeons and jackdaws, from taking the food and also, when there are young rodents running around, to stop the gulls predating on them.  Whilst taking the photo's, another resident of this paddock, 'Paco'- our male southern pudu, was out and about. His short, but perfectly sharp antlers (as a few keepers would testify when he's tried them out on a human leg) were in velvet, covered in bristly black hair. He watched me taking the photos for a very short time before continuing with the very important job of eating. His mate Jena and their offspring Norman were tucked out of sight inside.


I took the long way back to the studio and en route I saw one of the tapirs having her temperature taken (rectal). The tapirs love being made a fuss of apparently and especially love tummy rubs. One keeper was rubbing the tummy of the tapir whilst she was led down in the enclosure and another was taking her temperature. The keeper's hard work at training the tapirs to have a check up like this, without drugs or restraint, shows in how calm the tapir was... I'm sure she was almost going to sleep. 

Back in the studio I uploaded and chose one of the photo's that best showed the wires over the paddock and created a new sign... I just need the text from the animal department now to complete it.


In the afternoon I sorted through my reference photo's of the great plated lizard - Gerrhosaurus major and printed off a selection to work from. An internet search showed images with a number of variations in markings.. I needed to check with the animal section that our lizards had generic markings (i.e. they were the same as any other animal of this species, no markings that were only on those individuals). The chat with Andy, one of the keepers with reptiles, revealed the variations I saw on the internet images were of subspecies difference. Our animals at the zoo have no individual markings although there is one with a regrown tail (many years ago) so when I paint it I need to change that. In my internet searches for references I always try to find several written descriptions from reputable specialist sites like the IUCN, ARKIVE and in this case, specialist reptile sites. The written descriptions can tell me something I hadn't known about or noticed when viewing the live animal. And with these lizards, their bodies are, as the name suggests, covered with plates giving them protection in the form or 'armour plating'. However, one description mentioned a gap between the plates down the side of the body; this area of skin allowed the animal to expand, whereas a complete covering of plates wouldn't... handy if you have eaten too much.  I had not noticed it on my reference photo's, so I went across to the reptile house for another look at our two animals on show and took some more photo's of this feature.


The lizard is long bodied with a long tail, so if I illustrated it with the tail straight out behind, the illustration would end up quite small to fit the whole animal into the space I had to work with. So when I did the drawing, I drew the tail curved round allowing the animal to be bigger on the sign.


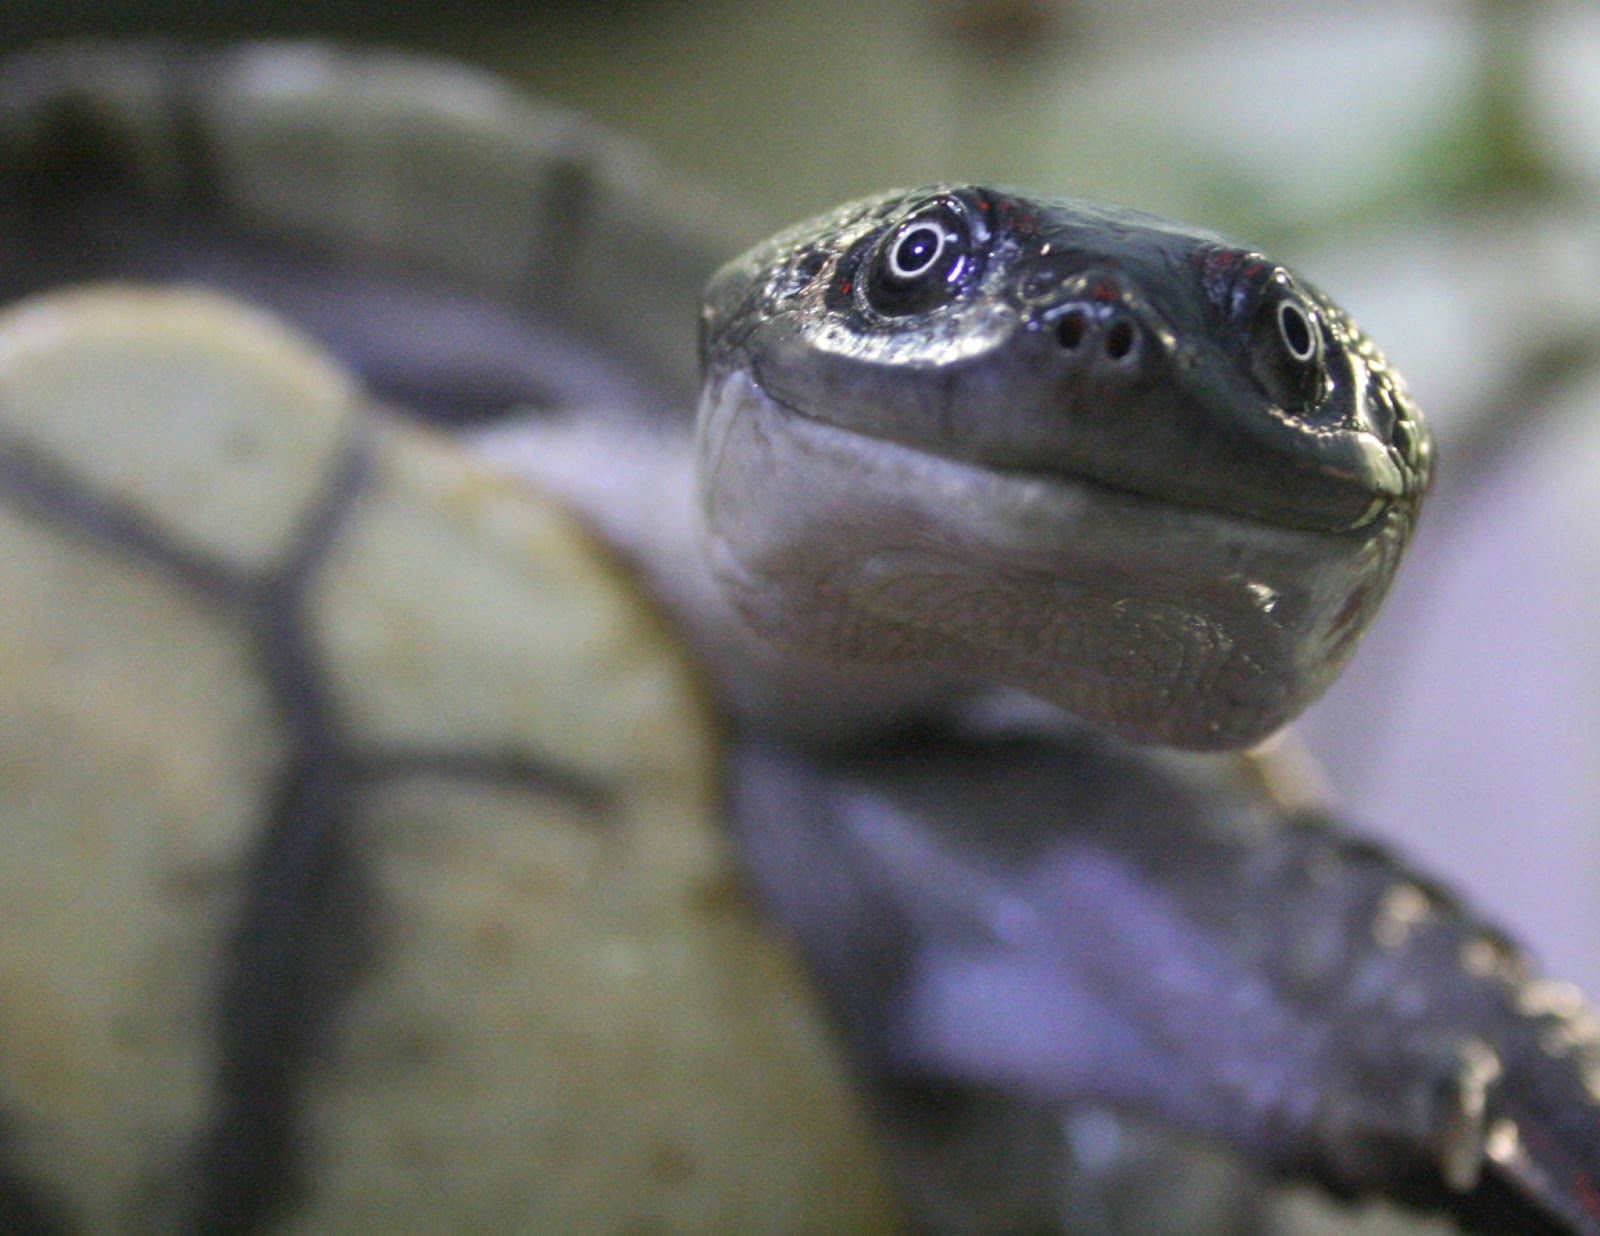
I'm getting quite good at remembering to take my camera with me when I go out and about around the zoo... here are some of the photo's I took.


Kemran and Ketan are growing fast... they are now looking more like scruffy juveniles than 'cute soft fluffy' cubs. Their bodies have lengthened proportionately and the fur around the neck is starting to lengthen too.


One of the new baby primates born recently... a Goeldi's monkey. This was taken with a fine wire mesh between us which is why there are those strange light patches over the darker areas of fur.


Tuesday 23rd

I transferred the drawing of the lizard onto a 330mm x175mm piece of 300grms watercolour paper. The lizard comes from rocky deserts in Africa, so the background I chose to do would be rock. This is a simple backdrop and here is a step by step of how I achieved the rock texture.


I start with a neutral stone grey and then using dry brush strokes apply a muddy purple colour over it. I can't be precise with the colours as I have made them up out of numerous colours over the years. 
I have an idea of the formation of the rock I'd like to achieve, so as I apply the paint, in each successive layer, I am aiming towards that. But I allow myself the option, if the scumbling effects create a different form of the rock surface, to change.


I am basically going loosely from dark to light, so the colours are added only in a sequence that suits that. The colours I am applying are mixes I have had in my palette for years as basics that I use over and over again, always adding to and changing slightly each time. This approach suits me in that paint wastage is minimal and I get palettes of colour ranges of browns and greens, beiges and blues that I can use for pretty much anything over and over again. This layer had a warm ochrey brown.


Then in with a darker brown.. the form of the rock is starting to emerge and evolve... the dark area behind the head is to 'throw the head out' - make it stand out against the similar colours the rock will be.


Next I start taking the light tones up a notch.


Adding warm colours in, to counter the cooler colours of the purple tone. 


More light tones, defining the shadow from the front of the lizard and some detailing around the rock crevices.


Lighter still...


Final layer of light tone sets the formation. Happy with that I leave it.


Here is a close up of the dry brush work effect.


During the morning I had popped out to try and get a better photo of the wires in bright sunshine... yesterday was cloudy, today is glorious Spring. The sky was beautifully blue and clear and the cherry blossoms looked stunning.


I also saw a female mallard with ducklings, nothing unusual in that at this time of year, but what did strike me as unusual was the male that was in their company. This is the second time I have seen a male (could be the same one) sticking close to a female and ducklings this year. I have never seen this behaviour in the male mallards at the zoo before... so I am intrigued by this.


In the afternoon I was ready to start on the lizard itself... this is when the  trouble started!
I put the base coat on the lizard shape and started 'mapping'in the vertical grid lines for the plates. As this lizard has a precise pattern to the scales I had to get it right on my illustration and I can't begin to tell you the problems I had, for some reason, to do the what looked like a 'simple' task of painting in those few lines. I mean... how hard can it be!? Surely this is straightforward.


 It grieves me greatly that it took me ALL afternoon...four hours to get the spacing, number of lines and curve right over the body and tail... I had to paint them in and out numerous times (waiting for paint to dry inbetween) before I was happy that I got the grid right. It didn't help that my new 'short-range' glasses are at the opticians to have the lens' adjusted so I can get closer to the work for such fiddly stuff. By the end of the afternoon I felt mentally exhausted from the close work and concentration, had back ache from leaning over the desk more and more tensely and a head ache to cap it all. I couldn't wait to get out of the studio and leave it alone.  


Wednesday 24th

Came in eager to get on with the fun bit of painting the lizard's plates on... I was planning on this being finished by 5pm. It would have been my sketch afternoon today but I really wanted this lizard done and finished, so I decided to postpone that until next week. I should have stuck with Plan A.

So the battle with me and the lizard commenced! And what a battle! There was me thinking just painting in the grid was bad enough.... the plates were a nightmare! I was working on a scale that was really too small for my eyesight to see easily where the tip of my '0' brush was going. But that is nothing new, I have been doing that for a while... my new glasses should help solve that problem. I can't paint the beast bigger as it has to fit onto an A4 scanner. I took the plates one horizontal line at a time... , the grid was good but the fiddle was getting the patternation of the plates right.. this is what makes the lizard look like it does.. if I just made up the pattern it would be easier but then it wouldn't be species specific.  It was easy to lose my 'place' in the pattern and on which plate I was working from and on! I got in a base of pattern and then went back to detail it, which is where most of the problem lay. My eyes kept 'blurring out' as I tried to follow the pattern from the references and the recreate that on my illustration. It was like trying to concentrate on and dismantle visually, an optical illusion! Made me go 'goggled eyed'.


I kept at it, refusing to back down all morning and into the afternoon. After numerous repaints, adjustments and fiddly bits I had got the body done and was starting the tail... Maybe it was because my eyes were tired, my back aching again and my brain numbed by the concentration all day but I just could not get the plates to 'sit' right. At the top of the tail the numerous lines of plates merge down to fewer lines on the tail, so there is a definite pattern to the way the plates merge... this was where I was rapidly losing all sense of sanity. I gave up at 3.30pm. Had to walk away from it before I ripped the illustration up or threw it out of the window! Artistic temperament rearing it's ugly head... If you still think painting is relaxing, try doing this guy as accurately as you can. 


I was not in a good mood or frame of mind so I thought I needed a walk in the fresh air to see lovely things to get my mood back to being pleasant again... and a chocolaty treat from one of the vending machines around the zoo grounds, would also help enormously. It was a lovely walk, the sun was still out and there were gorgeous camelias in bloom, the daffs at the front of the reptile house were looking splendid. I watched spiny mice in Twilight World investigating the leaves and twigs that the keepers put in recently for them. I saw the pygmy slow loris moving around, there is a baby but I think the adult carrying it was hidden at the back of the enclosure. I had a lovely walk and eventually stopped fuming so much and was able to start thinking of how I was going to proceed for the rest of the day. I couldn't go back to the lizard... that would not be productive.... so I thought about the next species to do... another lizard. I could start the drawing for that at least and go from there.

Back in the studio the next lizard on my list is a blue spiny lizard... I looked at the ref pix I had and decided maybe this wasn't the one to do next... it also had a precise scale/plate pattern and I just could not face that right now. So the next on the list is a panther chameleon - Furcifer pardalis. I has a pattern but due to the nature of the beast, I can be a little freer with it. Not so precise or restrictive... just what I need for the next job.

I went through my selection of reference photo's for this species, studied them all and made the decision as I looked through them how best to portray the animal position-wise. I collated the images that would help me achieve that illustration and printed them off. Then I sat and relaxed into the drawing/sketch of the chameleon for the last hour. This was a good way to end the day... The fight with the plated lizard will continue next week! 


Thursday 18 April 2013

Roti Island snake neck turtle and not much else

I spent most of my three days at the zoo this week in the studio doing the illustration for the Roti Island snake neck turtle - Chelodina mccordi. This is a strange looking turtle yet quite endearing too, especially when you look at the face front on. See last week's post for a photo of this smiley turtle.

Monday 15th

The morning was spent drawing up the turtle from the reference photo's I had gathered. As this species is aquatic I wanted to portray the animal in water, it frequents shallow areas where it sits with its head poking out of the water. The most important feature, from the public's point of view, for identifying this species is the neck. So doing a side on view would work well. From the photo references I combined several images to put the turtle in a position I was happy with. So the body of the shell and neck position came from one image, the front leg from another, and the rear leg from yet another. I used two other images for detailing as the head and neck were hard to get any details from on the image I used for their positioning. 


My final drawing


After lunch I started painting the background, which I made up after some thought and experiments on how I would approach it. I wanted to get the feel of a shallow area of water yet be light to show up the turtle. As I was doing the turtle side on in view I wanted to create a sense of recession in the background. 


To try and achieve this effect I used a thin-ish wash of gouache and starting with a pale yellow green  from the middle I blended it out top and bottom into two other colours.. a green blue and a sandy brown. Whilst the paint was still reasonably damp I added some dark and light tones into the sandy brown to indicate a rough surface with perhaps stones or pebbles in amongst the sand and put in a bigger stone shape to the left of the composition and then some tendrils of weeds 'wafting' in the current towards the right. I hoped this would help make it look watery so that when the turtle went on he looked like he was swimming not floating in mid-air. I did a quick scan on the computer to see how the colours would come out on screen and that would give me a better indication of how it would look once printed. The colours came out more yellowy but that suited me fine as it appeared to enhance the underwater feel.


I traced the outline of the turtle from my drawing onto the painting and blocked it in with a pale blue green and then added the shadow. Sometimes it is hard to tell, when working on a piece, to know if the image you are wanting to achieve is working or not... being the creator gives you an insight into what you want to achieve.. however anybody else looking at it does not have that insight and so sees it in a different way... a more objective way. I knew my turtle was swimming and I hoped it looked that way to others... but to check this I asked my colleagues, Anna and Phil. They both saw the turtle as floating in air, not swimming in water. After a brief discussion of ways to improve that I added some other elements to the background.


Adding a line of through the water, as if the view was a 'cut through', and having this line just cutting through the top of the carapace (shell) gives a more immediate effect of the turtle being in water. Add to that another larger rock so that the addition of more blue and lighter colours to the top above the line creates a distinct difference in colour tones between above and below the line i.e. above and below the water. 

In between some painting when I was waiting for coats to dry I added two more ID photo's to the rockpool ID panels, one for a velvet swimming crab and the other for a gobi fish. I am waiting for an update from Bug World on what species are still current in this exhibit as there have been a few changes, so that I can add and remove a few species from the ID document before printing the revised version out again.


Tuesday 16th

Today I did nothing else except paint the turtle.  I worked first on the neck and head and then moved to the carapace (the upper part of the shell) and plastron (the underneath part of the shell). 

I did manage to pop out briefly across to the office and took some video of the meerkats and Jock the silverback western lowland gorilla. I wanted to capture the lovely sounds the meerkats make as they constantly chatter to each other.


Meerkat chatter


Jock enjoying a bit of coconut - imagine the power in those jaws as he crunches into the shell to get at the raw coconut inside.


Wednesday 17th

Back to the turtle in the morning, adding more texture to the carapace and painting in the legs and feet. I added some lighter colour to the neck and darkened some parts of the background slightly to enable the light areas to show up better. I finished the illustration just before lunchtime and managed to catch Tim (Curator of Reptiles and Amphibians) in his office. He was busy preparing presentations for several talks he has to do at conferences but he was able to give me a few minutes to look over the illustration. He gave it the ok which meant I could get straight on with scanning the image after lunch. 


Roti Island snake neck turtle - Chelodina mccordi


I already had done the map distribution and had placed the text (from the Education section) on the ID document in a previous week, ready for the illustration to be placed. Once it was imported into the document, resized to fit the picture block set for this format of sign, I could then print it onto an A3 sheet of photo quality paper as there are two parts to each reptile and amphibian ID sign each just short of A4 in length but only about 4" wide. So the ID template is set up to print both parts side by side onto an A3 sheet. I did two copies, changing the header for one version to add the word 'juveniles' after the common name of the species. The adult female will go on show into one of the pools in the Reptile House (she is currently housed off show in the breeding room). She laid a number of eggs after her arrival at the zoo and a number of baby turtles have been successfully hatched and are also off show at the moment, being reared in a safe controlled environment until they are big enough to go on show in the breeding room. This is a rare turtle species, so these youngsters are very important for the captive breeding programme. 

Also today I had an email from the bird section, a masked plover had been placed into another aviary in addition to the ones we already have on show; so after checking my hard copy files to see if I had any ID signs already done, I then printed an extra two copies of this ID to laminate and put up on the appropriate aviary. It was nice to get out in the air, I felt I have been chained to my desk for the last day or so. 

As part of that email from the bird section there was an ID request for a new species. A wrinkled hornbill or Sunda Wrinkled Hornbill - Aceros corrugatus. This species is not yet on the zoo premises so I can't yet get any of my own reference or see the birds in person, to get that all important 'feel' for them. I did an internet search for images of this species and took a number to file for the future when I have to paint this bird.

Next week I have another reptile to do.


Thursday 11 April 2013

Monday 8th - Wednesday 10th April


Monday 8th

Sat waiting on my desk, where I had left them on Wednesday eve last week, were the 22 new replacement ID signs that I had printed. This morning's job was to trim them all to size and then laminate them, trim again and attached double sided tape to the back most of them. The trimming is done by hand using a sharp scalpel and a steel rule... the guillotines available to use just aren't sharp enough and scissors don't get that lovely clean edge. I also printed two copies of the souslik ID sign that I finished compiling last week, so they were also trimmed, laminated and trimmed again. 

This simple little job of preparing 24 ID signs for putting up on display, took all morning.

In the afternoon I got the adjusted text for the African penguins back from Rose in Education which meant I was able to finish that ID off and then print/laminate/trim it etc. I then went around the zoo grounds putting up the replacements, except for those that will go in the Seal and Penguin Coast exhibit (the penguin, Inca tern and eider duck). Again just two simple little jobs, yet they took all afternoon.

Tuesday 9th

This morning I had a bit of a treat. Recently the two students, who are archiving many items of the zoo's historical interest, had an open morning where the staff could go and view a selection of things they had put together. Unfortunately I missed this as it was on a Friday (a day I don't usually work on) But Sarah-Joy was kind enough to arrange for me a small visit to see some of these items. I spent a thoroughly enjoyable hour looking through old maps, guide books, postcards, animal inventory and newspaper clippings from way back in the zoo's history.. the latest was a guide book from 1964, which I remember from my childhood and actually had a copy of for many years, until I cut it up to add the photo's to my own reference library of animal images. I read clippings from the 1920-30's and saw postcard images from the late 1800's. Incredibly fascinating... I could have spent the day going through more of the same. But work was' calling' so I had to tear myself away and get back to the studio.

This beautiful lemur bronze sculpture stands on the landing of the stairs on the way up to the room where I viewed the archive items.

Thing's didn't go quite as I had planned today, as I had forgotten to bring my 'short-range' glasses in with me that I need for computer and close work.. i.e. drawing and painting. So Plan B was to sort out my reference photo's not quite so intensive on the eyes.. I needed some of the Roti Island snake neck turtle - the next species to be done from my list. So I arranged with the Reptile House keepers to go and look at/photo the female they had off show. I met Andy in the Breeding Room area and he took me through to the room that housed the collection of turtles in the off show area. They are housed in low high sided units that reminded me of huge paint trays for rollers! Each unit has the ability to be predominantly water with a bit of land or visa versa, depending on the needs of the individual of the species held in it. The 'girl' I had come to photo, was in one of the nearest units and as she is an aquatic species, her unit was full of water. We had just got in the room when a call came over the radio for Andy that there was a member of public at the main gate with a couple of turtles hoping the zoo would take and rehome them. 
Andy left me in the turtle room, whilst he went to investigate and see to the enquiry. In most cases it is impossible for the zoo to take in these unwanted pets as they just haven't the room and in 9 out of 10 cases the species is not one of the target species (endangered) the zoo concentrates on. In this case it was a couple of yellow bellied sliders (turtles) that were in need of rehoming. The lady who was making the enquiry luckily didn't have them with her and had a genuine reason for needing them to be rehomed (most enquiries come from people who have had an animal for a short length of time and have got bored with it or it has outgrown the facilities they have for it.) The turtles were her son's and he had gone to college and couldn't take them with him, he had them for over 10 years. Andy gave her the contact details of a group specialising in turtles.

In the meantime I was enjoying looking around the other turtle units... most were hidden in leaf litter and the composty substrate they were housed with, but one or two were partially or wholly visible.


When Andy came back we got on with the job of photographing our wonderful turtle. I took a few of her in water first and them Andy lifted her carefully out (they can bite) and placed her gently on the floor where I could get some photo's of her from different viewpoints and some close ups too.


I got that done as quickly as I could so that Andy could return her to her unit and water. I am always trying to lessen the impact on the animals when I have to get reference photo's like this and I know from past experience that the keepers wouldn't place their animals in a situation that would cause them stress or problems just for me to get photo's. If an animal can't be moved/disturbed, as is sometimes the case, I have to either get the best I can in situ or get images off the internet.

Would you mess with this guy? Egyptian spiny tail lizard


After photoing the turtle I went up to Bug World and met Mark, to get some photo's of a giant Ghana landsnail. These were 6 month old snails yet they were already pretty darn big at about 4" long in the shell. They have yet to reach full size! Snails have their own pace of life and to get the angle I needed for reference meant placing one on the work top in the breeding room (it had been sprayed with water beforehand) but of course having been picked up out of their lovely open toppped large flat container it closed its foot, tucking the head and antenna in at the same time. The shape and way they closed their foot is a little like a venus fly trap... only slower! Mark picked out an individual he told me was called 'Dave', but 'Dave' wasn't hugely interested in unfurling itself.. not even when a large juicy piece of fruit was laid in front of him/her. Snails need time, you just can't hurry them to do anything, so I waited and waited. Patience is needed when working with animals, especially when you want a snail to stretch out along a worktop to show off its foot shape, colouration and the diagnostic tail feature that sets it apart. It has a little ridged flat top to the tail, so that has to be seen in my  illustration, but to see it properly at all the snail needs to be relaxed and striding forth along a surface. We swapped Dave for Steve... or was it the other way around? Anyway, the second snail eventually started to stretch out and at least half an hour later I got the reference shots I needed.


Mark then took me around some of the other displays to get more reference photo's.... there are now common prawns in the rockpool exhibit and whilst I was trying to get photo's of them Mark spotted a dog winkle (aquatic snail) that I hadn't yet got photo's of... unfortunately it was a little too far away from the front. The thick glass and effect of the water makes the range at which I can successfully photograph anything, limited to just 3-4 inches from the front.

After the rockpool we went to see the goliath beetles. Mark had bred some 'Major males', my illustration on the present ID sign showed a minor male i.e. the horn at the front of the head is small, but the eyes are big. Major males have much bigger horns, but smaller eyes. Bigger horns are better obviously for fighting for females and bigger eyes are better if you have a disadvantage in the fighting ring - as they can see and find females easier enabling a minor male to sneak in and mate with.


What determines whether they pupate into Major or Minor males are the conditions under which they grow as larvae. Given optimum light, protein and temperature they turn out as Majors. Mark showed me a major male, not the biggest they have, he couldn't find him in the display... but still a big beetle at about 2" long. Then he showed me a beetle still in the case where they pupate. They don't emerge straight away after pupating, they stay in the protection of the case until their body hardens.


Then lastly he showed me a larva of this species... my goodness what a monster!


Back in the studio after lunch I uploaded the photo's I had taken and sorted them out into various ref files, as well as cropping and light adjusting them. As the landsnail illustration is the last on my list at the moment, it will be some months before I can get to it, so I took one of the photo's I had taken this morning and put that on a new ID document, putting in also the text and dietary stamps needed for this species. I printed it and laminated it ready to take up to the section tomorrow.    


Wednesday 10th      

This morning, before the visitor numbers built up, I went out to put up the replacement IDs in the penguin area of Seal and Penguin Coasts. These signs are a little more involved to put up as they are mounted on a piece of foamex with a perspex sheet covering them and screwed into a wooden panel screwed to the 'rockface' and 'ship cabin' wall in the themed walk-through area. Between the perspex cover and the foamex board, around the edges, is a strip of household draught excluder (put there to keep the rain out) and over time this has got a little delicate, so when I prise the foamex and perspex apart I have to do it very slowly to allow any of the strip that is stuck to the perspex to peel away in one piece. Do it too quick and the strip tears and the seal is damaged. Once the signs were in and back in position I popped up to Bug World to drop off the landsnail ID before heading back to the studio.


Inca terns displaying in the Seal and Penguin Coast exhibit


Once back in the studio I sorted out what reference photo's I need for the Roti Island snake neck turtle and adjusted  some with light levels and cropping before printing out a collection of images on two A4 sheets. This took me up until lunchtime.

After lunch it was my afternoon sketching session. It was meant to be last week but it was so cold and there were so many visitors over the school break that I decided to leave it for another week. This afternoon was practically tropical in comparison to last week's temperature. However, to sit for a few hours sketching I knew it was still cold enough to warrant an extra layer of clothing, hat, scarf and gloves.

I decided to concentrate on birds this afternoon, but I wanted to be in front of an aviary that was quiet visitor-wise, as it was quite busy in the zoo. So I plonked myself down by the Lilacine Amazon parrots section in the round aviary, which is tucked away a bit in a dead-end pathway.  


Two of the three parrots were displaying, which I video'd and put in the post before this one.

I was there for about an hour sketching and got quite cold so I headed to another reasonably quiet aviary (though why I don't know, as I think it is a gem of a place to be) The Forest of Birds exhibit in the center of the zoo grounds. I stayed here until just before 5pm sketching the Victoria crowned pigeons first, then a Mindanao bleeding heart dove. 


There was a pair of the crowned pigeons sat on a rafter in the top of the aviary, I liked the angle of viewpoint. I had to work on the head a lot to try and get the detail of the eye, beak and crest relationship sorted out and understood. These are big birds with a wonderful booming call, but today they were silent.

One of the Mindanao bleeding heart doves came down and sat on the fence in front of me, so I had to sketch him/her. Don't know the sex as they are not sexually dimorphic - they look the same. Then it went back up to a cosy spot on the sculptured wall o f the house near to the waterfall, to settle down  for a rest. Also on this page is the last sketch of the day.. the Victoria crowned pigeon.. I really like this particular sketch... it 'feels' very 'Vic crown pidge' to me.


Often overlooked, this lovely little Mindanao bleeding heart dove is beautifully marked with a deep red heart patch set against a bottle green head and white contrast partial bib and that soft buff of the chest and under body. 


Another of the photo's I took this week, I had to include it as I just thought it quite comical.


A rhinoceros iguana sat on top of one of the giant tortoises.


Lilacine Amazon parrot displaying


This is my first video posted to my blog..... so hopefully all will go well and you can view it ok. I don't have one of those fancy smart phones, this was done on my little Fuji camera that I have been using lately  to take photos as I work around the zoo. It struck me the other day that I could take videos too and so I have been taking various little video clips for the last week or so... funny how something that seemed interesting at the time loses that interest when looking back at the clip later. But this clip I decided would probably be interesting. 

I have worked at the zoo for over 17 years and although these parrots have bred well in the past, I have never been around to see this courtship display before. I was actually sketching the birds at the time and they started this behaviour... so out came the camera, which was then quickly put onto the video setting. The male is the one lowered with his wings held out, the female is the one making the most calls and following him.

Friday 5 April 2013

April ID sweep week

Monday was the Bank Holiday so I was only in on Tuesday and Wednesday this week.

Tuesday 2nd

In an effort to cut my monthly fuel costs in getting to work, I am trying the local train service that runs past a station near my house and one near the zoo on its way to Severn Beach.... very handy. Tuesday morning was again cold but beautifully sunny and I couldn't resist taking  this shot through the bridges over the lines from the Clifton Down station. I have enjoyed some lovely, albeit fleeting, wildlife sights from the comfort of my train seat... some bullfinches (that I personally haven't seen in many many years and a gorgeous fox sat up in the morning sun eyes shut as if with pleasure it was catching a few warm sunny rays.


After a quick drink I wrapped myself up and headed out for a walk around the zoo grounds to once again do my bi-monthly check on all the ID signs status. I'm looking for faded, damaged or missing signs and cleaning up any that are dirty, cobwebby or dusty at the same time. It was a lovely sunny morning and I took my camera with me. Not long after I had left the studio, in a quieter corner of the zoo I found this lovely family on a pathway. These are the first ducklings I have seen; although I know there have been others already about, as I heard a call over the zoo walkie-talkies that a gorilla had been playing with one and had released it. Luckily it was thought to have come through its ordeal reasonably unscathed as far as could be told and left to return to its mother. The poor wild ducklings in the zoo grounds do have a high mortality rate; the predators such as gulls from above and terrapins in the lake and moat take their toll. Doesn't help that the mother ducks seem to have little sense of protection where their offspring are concerned, allowing them to stray far away from their side, leaving them open to predation. Such is the circle of life, as they say.   


In my rounds I went through the invertebrate house, Bug World, and saw that one of the new tanks in the aquatic section was up and running and had new inhabitants.  It was a really lovely display and the lighting showed the upside-down jellyfish off beautifully. That delicate pink 'body' topped with paler frills and then gorgeous blue appendages emerging above that. Never noticed the colours of this species like this before... must be down to the fancy lighting fitted especially to show them off.


Also noticed more blossoms endeavouring to convince us that despite the unseasonably cold weather, (Freezing temperatures in March made it the UK's joint second coldest since records began more than 100 years ago), Spring was actually here. Saw this cherry tree close to the Butterfly Forest structure and loved the colours of the tree against the shadowy backdrop.


The zoo was very busy today, the schools are still off and with the Easter weekend fast approaching, and the sunny weather, we had a good number of visitors. This did make getting round the zoo and the checking of some signs a little harder than my last 'ID Sweep'. Going through the nocturnal house, Twilight World, was interesting.... packed with people and very slow moving it was almost impossible to make out where you were going. When there are fewer people you can see the floor and the dappled lighting helps you negotiate your way through the dark. But when the floor is not visible due to the number of people who are packed together (all wearing dark clothing)... you see nothing to help you ... it just looks black. There were a lot of giggles, laughs and a number of 'Oooops, excuse me' as people bumped into the person in front. 

I finished my walkabout just before lunch, just in time to meet a student who is doing an art project as her work experience, which is tied in with the course she is doing through a college here at the zoo. She had brought in digital images of her work for me to see and have a chat with about exhibiting this work on Wednesday evening. She has permission to show her work at the same time and place as the monthly evening research science talk the zoo holds. 

After lunch I started on my list from the morning's walkabout and I had the text from Education (from the end of last week) for the souslik, so I put that on the ID document and also did the distribution map for the species as well.
I had several queries on things I had seen during my sweep that I needed to check with the animal sections, so I sent off a few emails and I managed to print off 5 ID signs as a start to the list.
Just before the end of the day I photocopied 30 replacement guides for the Butterfly Forest exhibit. 

Wednesday I spent in front of the computer. The IDs I printed yesterday were the easy ones that had already been converted to Illustrator documents, but today all the rest I had on my list (9 species) had to be converted from their Quark and Freehand formats over to Illustrator documents before they could be printed. As part of this process some maps need to be redone, some illustrations adjusted  - both of which I do - and some text altered- thinned down so that it will fit into the slightly smaller space on the Illustrator ID format. This means me contacting an Education Officer and giving them an idea of how much needs to be cut from the text so that they can re-jig the wording to make it fit the space I have. 
That was pretty much it for the day apart from a few other little jobs. Doesn't seem much but it kept me busy all day.